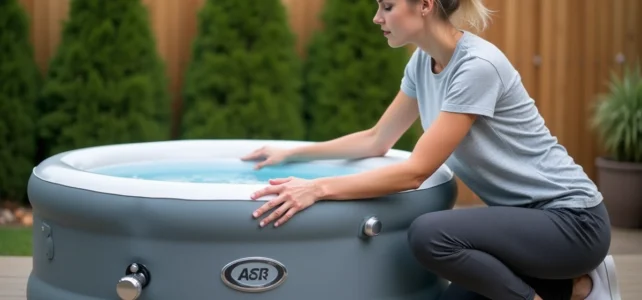
An MSPA Lite inflatable spa deflates by reversing the air circuit integrated into the technical unit. The pump used for inflation draws air out when the dedicated function is activated, which distinguishes this type of spa from models with a manual valve. Before starting this operation, several steps are necessary to ensure the longevity of the structure and the cleanliness of the storage.
MSPA Lite Technical Unit: Understanding the Air Circuit Before Deflating
On the Lite range spas (Orbit, Cloud, Mist, Pebble, Glow), the technical unit combines the pump, blower, and control panel into a single housing attached to the wall. This unit is responsible for heating the water, filtration, the bubble system, and inflating the structure.
Inflation and deflation occur through the same air conduit. The blower pushes air into the walls during setup and then draws it out during deflation. Control is done from the panel located on top of the unit, via a dedicated button often identified by a downward arrow icon or the label “deflate”.
One point deserves attention regarding the latest generations of MSPA spas: some connected models (like the Napuka) include an MSPA app that allows for remote control of several functions. On these versions, the physical panel is not the only way to initiate a cycle. Before following a generic method, checking whether the spa has a standalone panel or a panel coupled with an app helps avoid missing out on automatic purge options that are absent from older tutorials.
Knowing how to deflate an MSPA Lite inflatable spa thus first requires identifying the exact model and type of control interface.
Draining and Cleaning the Inflatable Spa Before Deflation
Deflating a spa still filled with water would damage the structure and seriously complicate folding it. Draining is a non-negotiable prerequisite.
Draining Water Without Damaging the Lawn
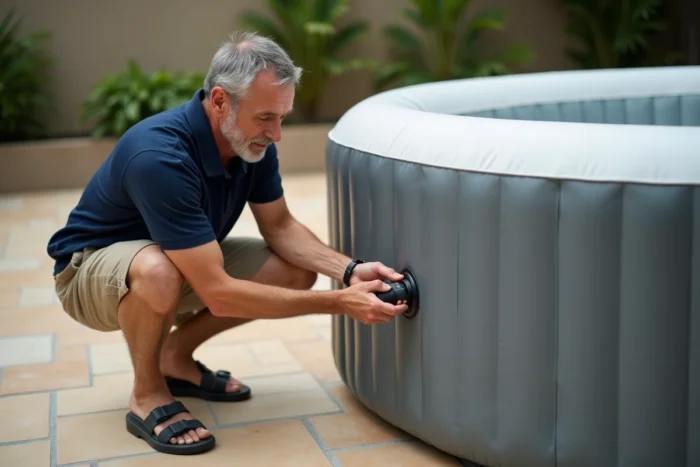
The drain plug is located at the bottom of the wall, near the technical unit. An adapter for a garden hose allows directing the water to a drainage area or a part of the garden away from sensitive plants. Water treated with bromine or chlorine can burn the grass if it stagnates in one spot.
Letting the water drain completely often takes more than an hour, depending on the spa’s volume and the available slope. Slightly tilting the structure towards the plug speeds up the end of the drainage when only a few centimeters remain at the bottom.
Cleaning the Walls and Bottom
Once the spa is empty, using a soft sponge on the inside removes biofilm and treatment product residues. Three points to follow:
- Use clear water and a non-abrasive mild cleaner, never a solvent-based product that would damage the laminated PVC
- Focus on the waterline, the area where limescale deposits and greasy substances accumulate the most
- Rinse thoroughly to leave no chemical residue that could stick the walls together during storage
The cartridge filter is removed, rinsed with water, and left to dry completely in the open air before storage. A damp filter stored can develop mold in just a few days.
Complete Drying of the MSPA Lite Spa: A Often Neglected Step
Drying is the phase that most users cut short, and it is the one that causes the most damage to the following storage. A folded spa that is still damp develops mold and bad odors that deeply permeate the PVC.
After cleaning, leave the spa in the open air, with the walls still inflated, for several hours. A sunny and breezy day is sufficient for the outside. The inside requires turning the spa over or manually soaking up the last puddles.
The technical unit also contains residual water in its conduits. Running it empty for a few seconds (bubble function, without water in the basin) helps expel trapped moisture from the circuit. Then wipe the connections and air outlet with a dry cloth.
Deflating the MSPA Lite Spa Without Forcing the Structure
Once the spa is clean and dry, the actual deflation can begin. The operation usually lasts less than ten minutes.
Activate the Deflation Function on the Control Panel
On Lite models, pressing the deflation button activates the blower in reverse. Air is drawn out of the walls by the technical unit. The spa gradually collapses. Staying nearby allows guiding the folding of the walls to prevent them from getting stuck and creating residual air pockets.
If the model does not have a motorized deflation function (as is the case with some older Lite models), opening the inflation valve and manually pressing on the walls from the side opposite the technical unit pushes the air towards the outlet.
Folding and Storing Without Creating Brittle Folds
The laminated PVC of inflatable spas does not tolerate repeated folds in the same spot well. Folding the structure into three or four wide sections rather than a tight accordion limits wear. Two precautions to keep in mind:
- Never walk on the spa to push out remaining air, as concentrated weight can puncture the coating at the seams
- Fold the technical unit against the wall while protecting the control panel with a cloth or the spa’s thermal cover
- Store the folded spa in a dry place, protected from frost and direct sunlight, ideally in the original carrying bag
Winter Storage and Lifespan of the MSPA Inflatable Spa
The average lifespan of an inflatable spa is still shorter than that of a rigid or semi-rigid model. Storage conditions directly influence this longevity. Storage in a humid environment or exposed to frost weakens the PVC seams and the electronic circuit of the technical unit.
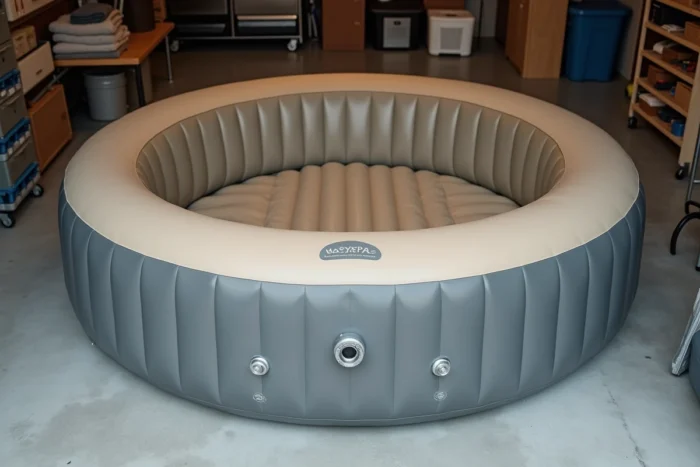
Choosing a temperate location (garage, pantry, insulated garden shed) protects the equipment. Placing the folded spa on a shelf rather than on the ground avoids contact with residual moisture from a concrete slab.
Before re-inflating in the spring, inspect the walls for micro-perforations. A simple test consists of inflating the spa, letting it rest overnight, and checking that it has not lost firmness. Any visible pressure loss after a night indicates a leak that needs to be located before filling the basin.
Properly conducted deflation protects both the spa and its daily use. A thorough cleaning, complete drying, and careful folding form a process that takes half a day and sets the stage for the next season.